
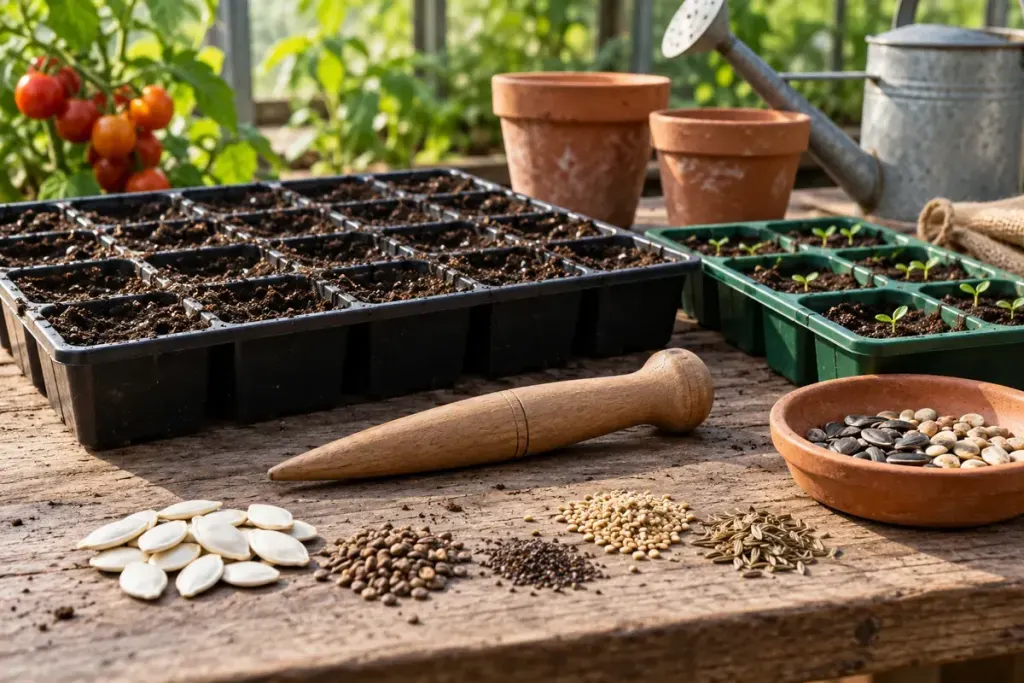
A seed is small, but the layer placed above it can make a large difference to its start. Before pushing every seed to the same depth, read the instructions for the species and variety you are actually growing.
The University of Minnesota Extension’s indoor seed-starting guide prioritises packet directions and notes that some seeds need light for germination. Its seasonal calendar is written for Minnesota; the sowing date must be adapted to your climate and growing conditions.
Prepare the surface before making the hole
Use a suitable seed-starting medium and containers with the required drainage. Moisten and settle the medium as directed before sowing so the seed does not end up at an unintended depth after the first watering. Avoid compacting it into a hard layer.
For seeds that need a measured covering, mark the intended depth on a small dibber or another suitable tool. For surface-sown seeds, follow the specific covering and light instructions instead of applying a general “bury it twice its size” rule without checking.
Make the tray easy to interpret later
Label the crop, variety and sowing date. Record the packet’s depth instruction and any treatment you used. If several trays fail differently, those notes are more useful than a memory that they were all planted “about the same.”
- Keep the packet until establishment.
- Water gently enough not to wash seeds out of place.
- Monitor the medium rather than judging only its surface colour.
- Follow crop-specific temperature and light guidance.
If testing an unfamiliar method, use a small, labelled comparison rather than changing every tray at once. Keep the seed lot and other conditions as consistent as practical, and treat the result as an observation from your setup rather than proof of a universal optimum.
Do not excavate seeds repeatedly to see whether they have germinated. Use the expected range from reliable crop guidance, watch conditions, and investigate patiently if emergence is delayed.