
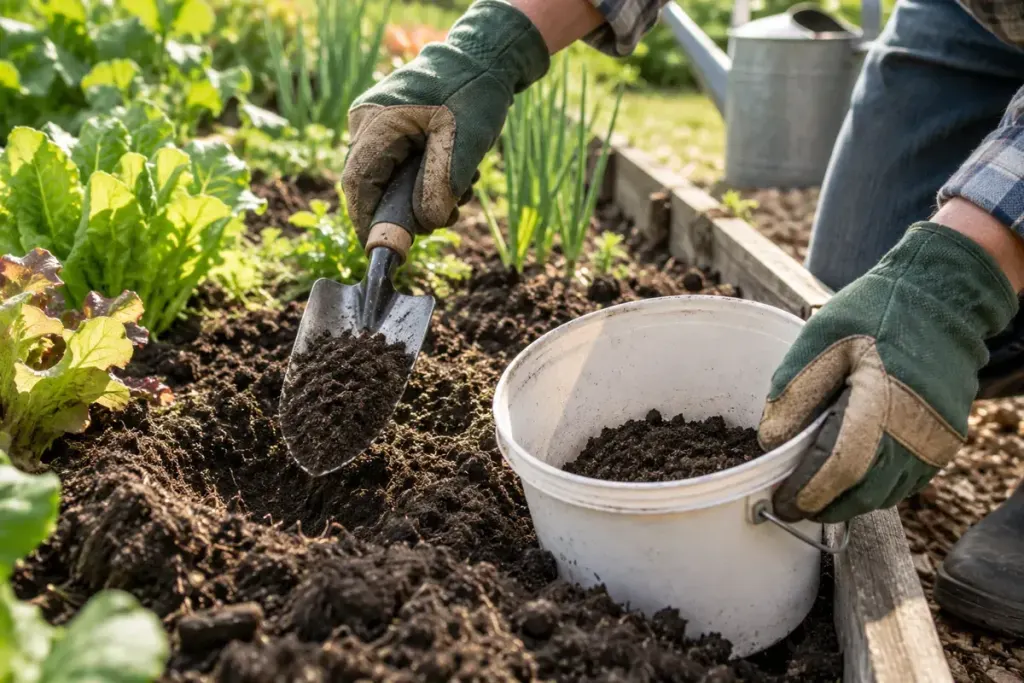
A soil report can be precise about the material in its bag and still tell you little about the bed you wanted to understand. The problem may begin before the sample reaches the laboratory: one scoop from a fertiliser spill, several different growing areas mixed together or a label that no longer matches the map.
Start with the question the result needs to answer. Are you preparing a vegetable bed, investigating a weak patch or checking a routinely managed growing area? Different questions may need separate samples and different tests.
Draw boundaries before collecting soil
Sketch the site and mark areas with different histories. A regularly composted bed, a lawn and a newly filled section should not automatically become one sample. An unusual problem patch may be worth investigating separately rather than diluting it into an otherwise uniform area.
The University of Minnesota Soil Testing Laboratory provides sampling instructions and submission forms for its lawn and garden service. Use the instructions from the laboratory you will actually use, particularly for depth, sample quantity, preparation and the tests appropriate to your crop and location.
Make the sample represent its area
Collect material from several locations within an area that is managed similarly, following the laboratory’s prescribed method. Use clean tools and a suitable clean container. Avoid introducing residues from fertiliser bags, recently treated surfaces or a container previously used for another product.
Do not improvise a universal sampling depth from a social-media tip. A test intended for a lawn can have different instructions from a field-crop or specialist analysis. Consistent depth matters because the material from different layers can differ.
A simple example of useful separation
Imagine a small holding with an established vegetable plot, a recently imported topsoil mound and a yellowing strip beside a path. Label them A, B and C on a sketch. Ask the lab whether separate submissions and additional information would help answer your questions. This is an illustrative planning example, not an assessment of those symptoms.
Keep a note of recent amendments, crop history and any visible issue. A photograph may help a local adviser understand the context, but it does not replace the sampling procedure. If you suspect contamination, ask specifically about appropriate testing; an ordinary fertility package does not automatically investigate every contaminant.
Keep the report connected to the ground
Before sending anything, compare the bag labels, form and sketch. Record the collection date and save the laboratory’s instructions with your copy. When results arrive, use local crop guidance or a qualified adviser to interpret the recommendations for that place.
The next useful step is a documented decision: what you changed, where and why. Future results become easier to compare when you keep the sampling area and method consistent. The report then becomes part of a growing record rather than an isolated sheet of numbers.
Continue exploring: Before Adding More Water, Check Where the Drip Line Delivers It.